
In the process of riding, the most common problem is the tire problem. The tire is like a person's legs to a bicycle, so tire repair is a very important skill in bicycle repair.
Tools required for tire repair of mountain bikes: flat file or sandpaper, water basin and water, tire covering rubber or rubber+glue, air pipe.
Steps of tire repair for mountain bikes
Peel off the outer tube - take out the inner tube - pump enough air - look for the air leak - make a mark - deflate - grind around the air leak - apply glue - stick a tyre patch after drying (about 2~5 minutes) - check whether the outer tube and rim at the air leak are abnormal - install the inner tube - install the outer tube.
1. Bleed all the air from the inner tube.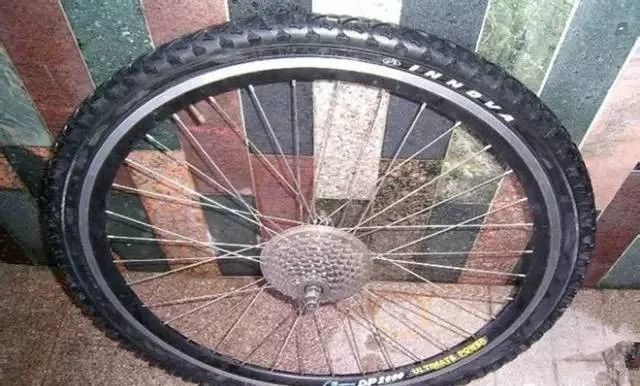
2.Take out the inner tube
Clip the tube into the tube with the raised end of the tyre prying rod, and pry it from the position roughly opposite to the air nozzle (do not pry it directly opposite the air nozzle, but slightly slant it). First, hold the outer tube, pull it to one side, and then insert the tire prying rod into the bottom of the outer tube. Be careful not to insert the tire prying rod too deeply, and the tire prying rod cannot jam the inner tube. A layer of cloth can be placed between the rim and the tyre prying bar, so that the tyre prying bar will not damage the rim.
3.Find the breach
Ear listening: put the inner tube beside your ear and turn it slowly after sufficient air is pumped. There will be a "peeping" air leak at the air leak.
Hand touching: after sufficient air is pumped, gently hold the inner tube and turn it around. The air leakage will be blown out, and the hands will feel cool.
Water test: put the inner tube into the water after pumping enough air, and bubbles will appear at the place where the air leaks. (Tiny air leakage holes can be detected)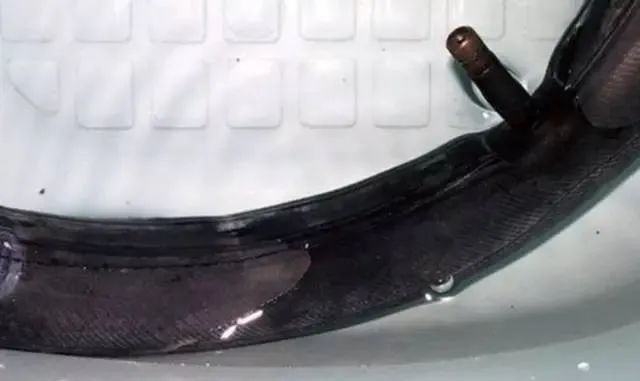
4. Use a file to deal with the damaged position
The rough size of the file around the hole should be a little larger than the tire patch, so that it can be stuck more firmly and not easy to leak air. When filing, file in the same direction instead of back and forth. If the breaking point is near the inner tube mold closing line, carefully grind the inner tube mold closing line.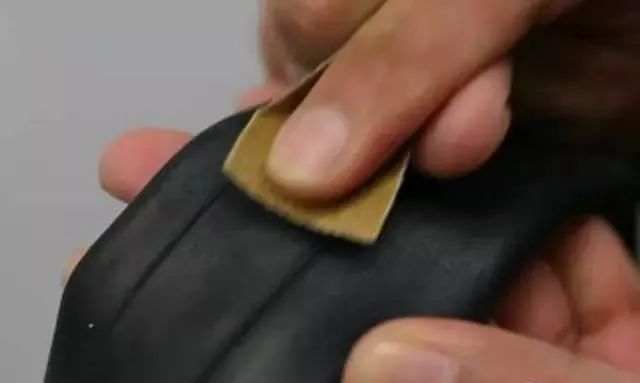
5.Apply glue to repair the groove: not too much glue, and apply evenly. After applying the glue, dry it a little. The patch can only be applied after its surface is dry and looks gray rather than shiny.
6.Inner tube installation: empty the inner tube and install the inner tube from the air nozzle